
Hello everyone,*Apologies about the late post, I have been very poorly this past week*, how are you all? doing well I hope. My parents and I facetimed my sister over the weekend, which I really needed as I’ve been missing her alot and it’s been a long time since I’ve actually seen her, I think the last time I saw her was possibly late last year ☹️ so when it is properly safe to do so, one of the first things we’re going to be doing is travelling to where she lives so we can actually have a hug!
Photography Do’s & Don’ts
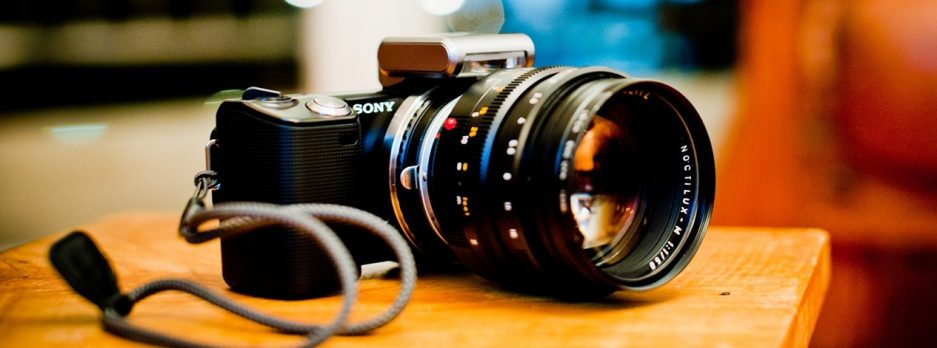
The world of Digital Photography is exploding right now and has been for quite some time. The quality and availability of incredible equipment including camera bodies, lenses, flash gear, tripods, video devices, accessories, software, etc is just incredible. Never has there been a time where a person jumping into Photography has had such great access to gear that can have them creating professional level images in such a short time. There are so many sources to educate yourself on the entire craft from the point of capturing an image to final output whether that is a dazzling image displayed on computers or mobile devices to be shared to thousands online or printed out as a large piece of artwork for your home or office or to be sold to someone else for that same reason.
Below is a list of some of the important DO’s and DON’Ts of today’s wonderful world of Digital Photography.
DO Learn To Shoot In Manual Mode.
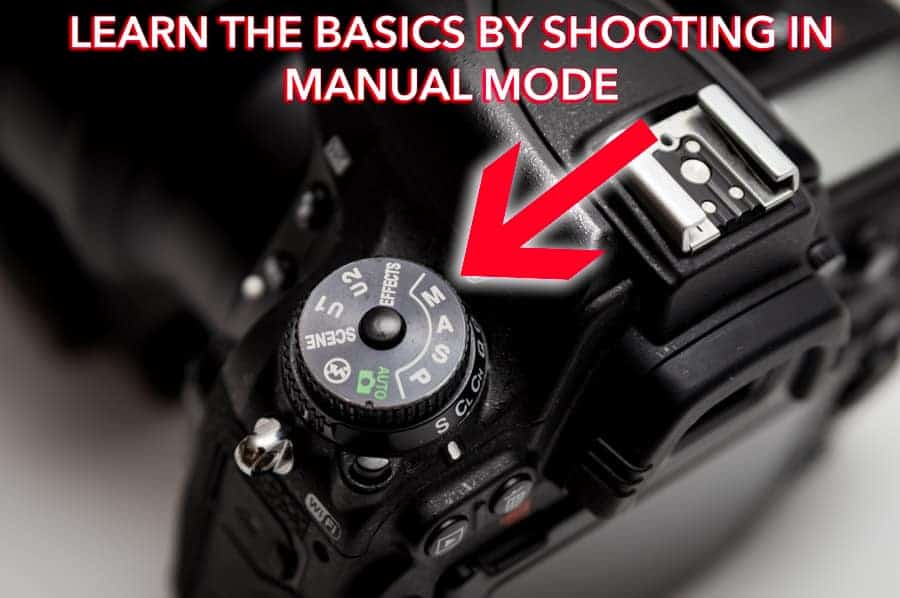
Learning to shoot in manual will explain everything you need to know about the exposure triangle – the basis of all photography. Improve Photography Plus has a great resource in PhotographyStart. It has all the needed info and details to get you up and running with the true basics of photography split up into over 20 very digestible videos. It doesn’t matter if it is 2016 or 1985, the Exposure Triangle is the same as it has always been. The one difference is then FILM was rated ASA rather than today’s ISO which is the “INPUT GAIN” or sensitivity of today’s amazing digital sensors.
Don’t be heavy-handed with colour filters or effects such as blurring.
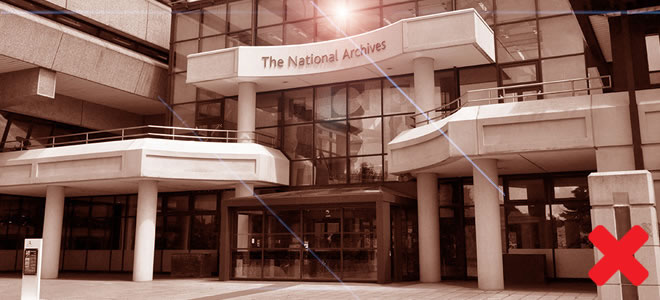
This is more labour-intensive and could give our audience false expectations and ideas as to how things really appear.
Do use photos as originally shot where possible.

By depicting subjects realistically we can encourage trust from our audience.
DON’T photograph strangers without permission.

While it may be legally sound to photograph people in public places, it is polite and respectful to ask first. If you’re a tourist taking photos of people, be sensitive to their culture.
DO use good lighting.
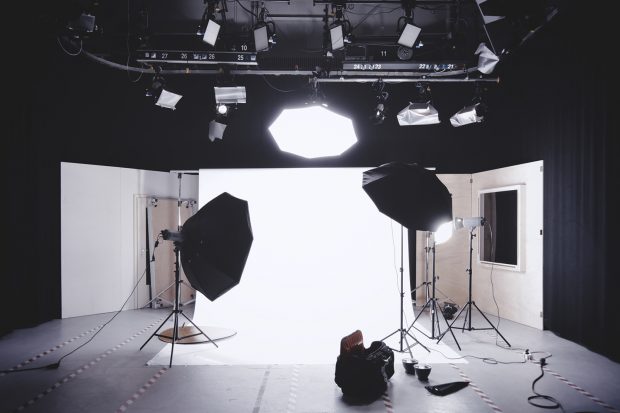
There’s really no way around this one. The Greek derivation of the word photography means “to paint with light.” You can have the best camera in the world, but if the lighting sucks, so will your pictures. If you don’t have enough light, digital photos can look grainy. But good lighting does more than produce smooth, sharp pictures: it makes for interesting pictures. And interesting pictures make for more sales. While I have thousands of dollars worth of lighting equipment in my studio, you don’t necessarily need all that. Start simple: get some desk lamps at IKEA or work lights at Home Depot if you don’t already have them. Then make sure the White Balance on your camera is set to Auto. The key to good lighting is to use at least two lights and place them on the left and right of your product. Never light the product straight-on. Play with different angles to see what looks most interesting, and be sure to shift the lights or your camera angle to avoid glare if your product has a shiny surface.
DON’T shoot from common angles only.
.jpg)
Just because the overhead shot is popular doesn’t mean it works for all dishes. Even the typical 45-degree angle might not capture your dish in the best way. Go right down to the level of the dish and shoot from there, or try capturing a close-up. Experiment and don’t be afraid to move, even if it means standing on a chair to achieve the best angle for your dish.
Do Use a Sturdy Tripod.

Since you’ll be taking exposures between 10-30 seconds, a sturdy tripod is crucial. As landscape photographers, we can’t control the conditions and often experience wind when taking photos. Wind will ruin all of your Milky Way photographs if you don’t have a sturdy tripod.
Don’t Over or Underexpose.

You never want to over or underexpose an image, but it’s even more important at night. Underexposed images won’t be able to be brightened without bringing out an extreme amount of noise. Overexposed images can blow out the core of the Milky Way, which may be brighter than it seems. In order to properly exposure, watch the histogram as you’re shooting. You want to keep the histogram off of the edges for the best exposure.
Do Consider Meeting Other Photographers.

If you want to learn new tricks and techniques, then you should meet other photographers whenever you can. For this, you can consider joining groups, taking a class hosted by a licensed photographer, or simply attend an Instagram or Facebook Meet-Up. You’re free to ask several questions, and more often than not, dedicated photographers will be more than glad to teach you the skills you need to know!
Don’t Touch the Lens!
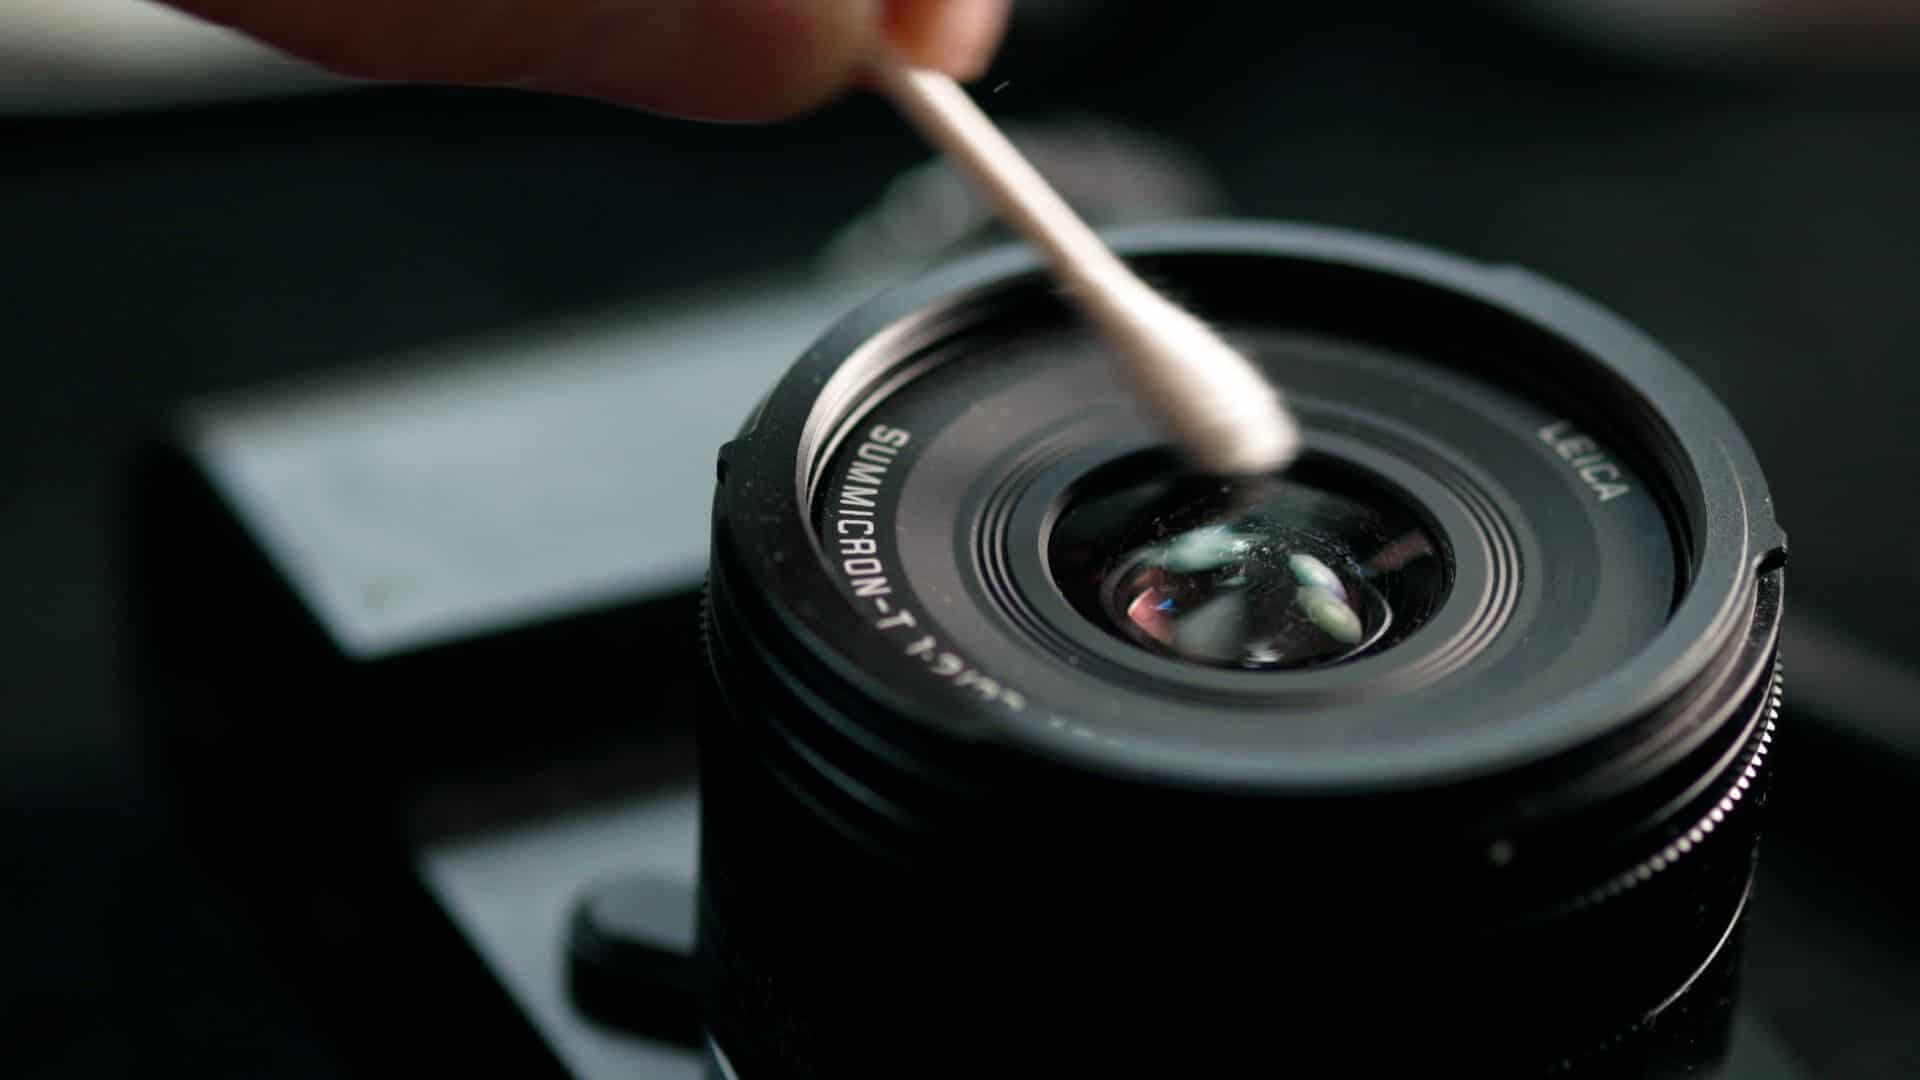
Are your photos turning blurry? If so, try taking a look at the lens. If you’ll see a fingerprint or two, then that’s the reason why your photos are turning out blurry!
It’s always ideal to clean the lens before each use, and a lens cleaning kit is a good investment for this. Keep in mind, lenses are very delicate, and the replacement will never be cheap. Thus, always take the precautionary measures, and just treat your camera with care, in order to avoid those worries of replacing it.
Do Shoot Various Poses.

For this, different shots should be included, such as shots of the head and shoulders, full-length, waist-level shots, and so on. The subject could strike a pose where he/she’s looking over the shoulder, torso, or head at a 45 degree angle to the camera.
If it’s needed, don’t be afraid to take more pictures. Also, one benefit of this approach is the fact that even those who feel conscious in front of the camera, will eventually feel at ease, as he/she starts to loosen up during shooting. This will make the pose more natural.
Also, as a photographer, you should tell the subject that you’re going to take a lot of photos, and make sure he/she agrees first.
Don’t Forget the Essentials.

Always be prepared, and know that your shooting conditions will always be unpredictable. Thus, make it a point to bring spare batteries, flash, extra memory cards, filters, etc.
Do Focus on the Eyes!
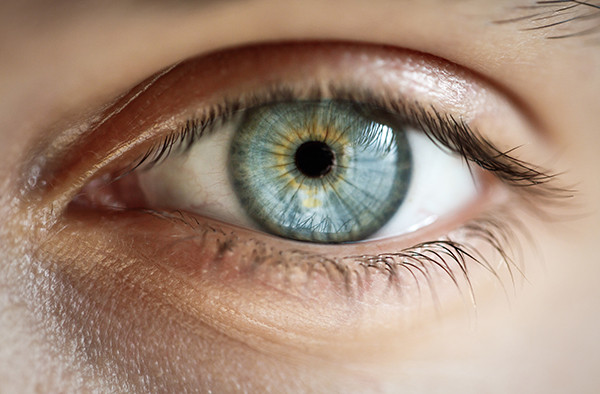
If you’re familiar with the phrase, “the eyes are the windows into the soul,” then you ought to know that this phrase plays a vital role in photography as well. In order to lock in the viewer’s’ interest, it’s important to keep them in focus. Why? Failure to do so could cause the final output to look like a mistake.
Additional tip: Filling the flash, together with a diffuser, are some of the great ways to make the eyes brighter.
Don’t be Afraid to Edit.

Never be afraid to edit your photographs. Know that you can always click ‘undo,’ and everything will turn back to normal. Also, there are some programs that will even allow you to be as detailed as possible. That means, if you didn’t get the image you wanted, you can always tweak it a little.
Do pay attention to the environment

Close-up shots are important to capture details in a lifestyle photography shoot, but don’t forget the larger environment. Step back, look at the wider setting and think about what it tells you about your subjects. The environment will be a key part of your subjects’ lifestyle, so you need to capture all of it to present the full story in your photos. We’d recommend always carrying a wide-angle lens for this reason.
But most importantly have fun whilst taking pictures.
I hope you all have a good week, and I will see you next Wednesday,
